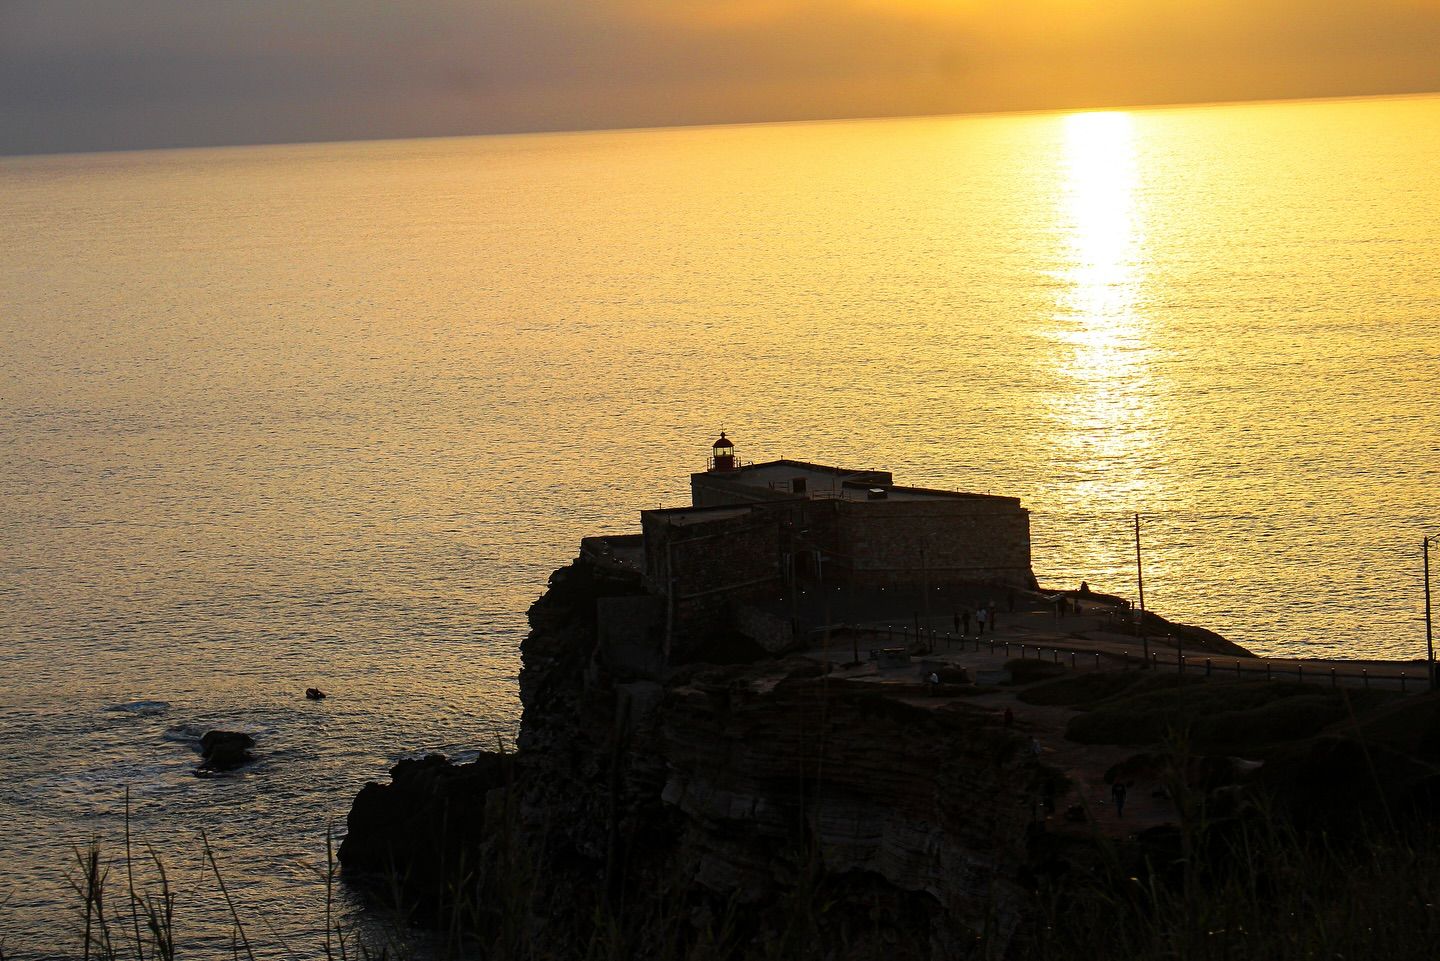
The camera screen lies. In sunlight it looks dark, at night it looks bright, and a photo that looks fine in your hand can turn out blown on the computer. The histogram does not depend on the screen or the light around you: it is the most reliable way to know whether the exposure is right.
This article follows The exposure triangle and Camera modes. The histogram tells you whether the settings you chose worked.
What it shows
A histogram is a graph of how many pixels in the photo sit at each brightness level.
- Horizontal axis: brightness. Pure black on the left, pure white on the right, midtones in between.
- Height: how many pixels have that brightness. A tall peak at one point means a large part of the photo has that tone.
It does not show where each tone is in the image, only how much of each there is. A bright sky and a white wall add up in the same place on the graph.
| Area of the graph | What it represents | Examples |
|---|---|---|
| Left edge | Blacks | Silhouettes, night, deep shadow |
| Left | Shadows | Backlit trees, interiors |
| Centre | Midtones | Skin, grass, blue sky, asphalt |
| Right | Highlights | Clouds, sunlit sand |
| Right edge | Whites | White water, the sun, snow |
The two problems it reveals
1. Blown highlights. If the graph runs into the right edge and gets cut off, part of the photo is pure white with no information. That is what happens when a sunset sky turns white, or the foam on a wave has no texture. It cannot be recovered in editing: there is no data to recover.
2. Crushed shadows. If the graph runs into the left edge, part of the photo is pure black. Shadows recover a little better than highlights, especially in RAW, but brightening them brings out noise.
Many cameras also have a highlight warning: when you review the photo, blown areas blink. It is switched on in the playback menu, under names like "Highlight alert", "Blinkies" or "Highlight warning", depending on the brand.
There is no correct histogram
The most common mistake is thinking the graph should sit in the middle. It should not: the right histogram depends on the scene.
- Bright scene (sunny beach, snow, a white wall): the graph sits to the right, and that is fine.
- Dark scene (a city at night, a dim interior): the graph sits to the left, and that is fine.
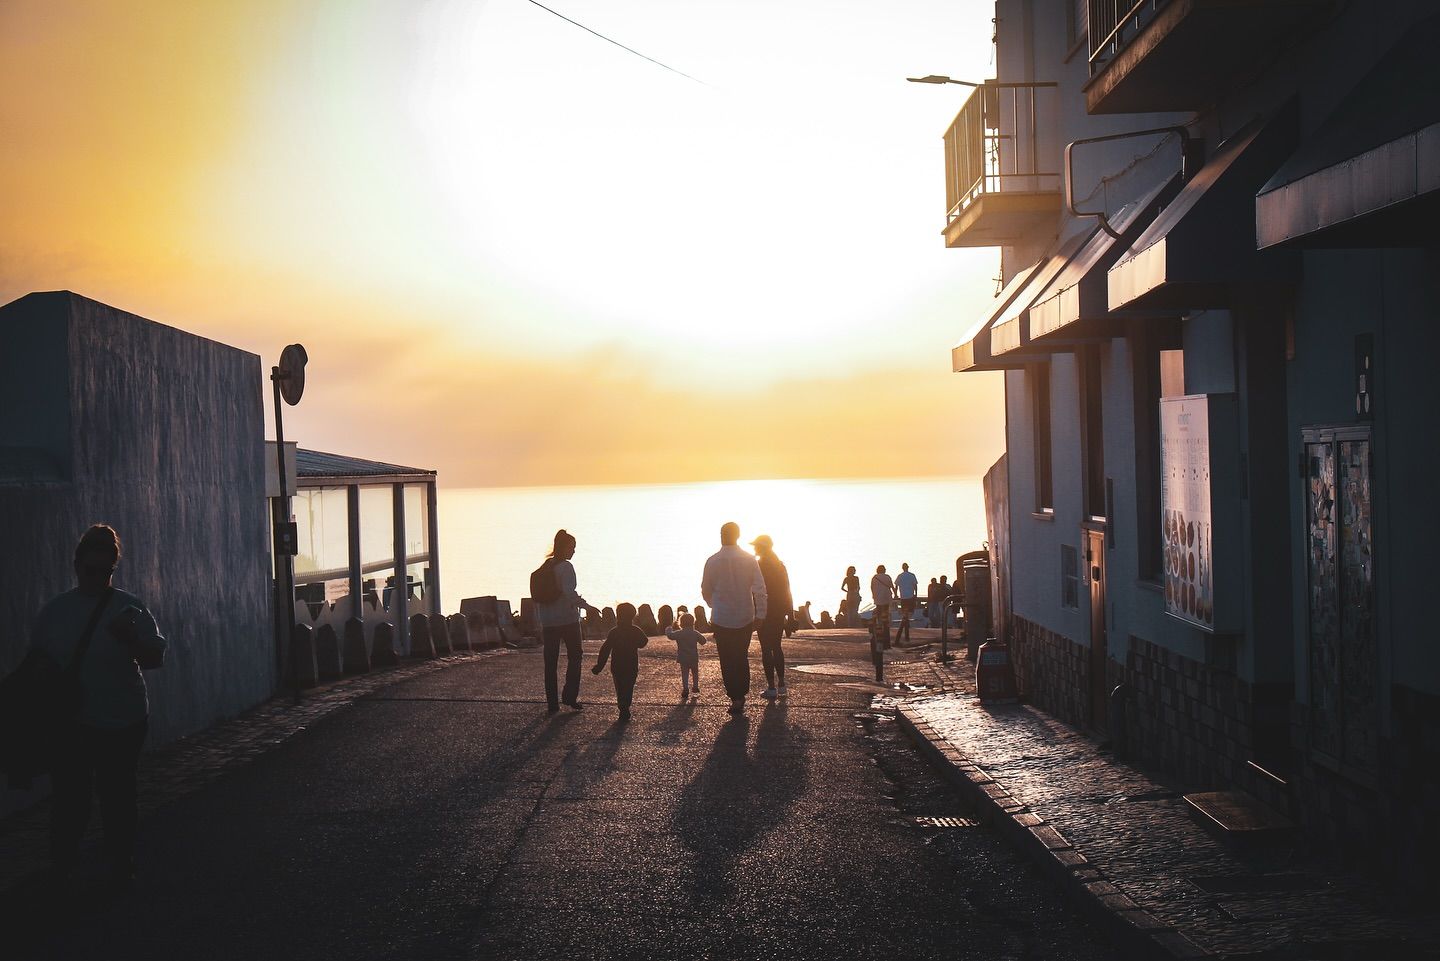
- High-contrast scene (a sunset backlight): the graph spreads toward both edges. You have to decide what to give up.
The question is not "is it centred?" but "did something important get cut off?" If the only thing touching the right edge is the sun, it does not matter. If it is someone's face or the crest of the wave, correct it.
How to correct it
| What you see | In A/Av, S/Tv or P | In manual |
|---|---|---|
| Graph cut off on the right | Exposure compensation at −0.7 or −1 | Faster shutter or smaller aperture |
| Graph cut off on the left (and the shadow matters) | Compensation at +0.7 or +1 | Slower shutter, wider aperture or higher ISO |
| Cut off on both sides | The scene has more contrast than the sensor can record. Choose what to protect (usually the highlights) or take several exposures to blend later. | |
RGB histogram
Many cameras offer two versions: luminance (a single graph) and RGB (one per colour channel: red, green and blue). Use RGB: at sunset the red channel blows out before the others, and the luminance graph does not show it. The result is a flat orange with no gradation.
A note if you shoot RAW
The camera histogram is calculated from the JPEG preview, not from the RAW file. The RAW usually holds a little more highlight information than the graph shows. So if the histogram just touches the right edge, it can often be recovered in editing. Treat it as a margin, not an excuse: the safe option is not to clip.
Where to see it
- When reviewing a photo: on almost every camera, press the information button (INFO or DISP) a few times in playback.
- Before you shoot: mirrorless cameras and many DSLRs in live view show it live, on the screen or in the electronic viewfinder. It is the fastest way to work.
- On a phone: camera apps with a pro or manual mode usually show it; the built-in camera on iPhone and many Android phones does not.
Practice exercise
Find a scene with both sky and shade: a street in the afternoon, a tree against the sky. Take the same photo with exposure compensation at −1, 0 and +1. Watch how the graph shifts each time and in which of the three the sky stops touching the right edge. Then compare all three on the computer.
Previous: Camera modes: when to use A, S, M and P.