The mode dial is the first thing that intimidates people about a new camera. It actually says something simple: who decides each setting, you or the camera.
This article builds on the exposure triangle. If it is not yet clear what aperture, shutter speed and ISO do, read that first.
What each mode is called by brand
| Mode | Sony | Nikon | Canon | Fujifilm |
|---|---|---|---|---|
| Aperture priority | A | A | Av | A on the shutter dial |
| Shutter priority | S | S | Tv | A on the aperture ring |
| Manual | M | M | M | Both set to fixed values |
| Program | P | P | P | Both on A |
Many Fujifilm cameras have no mode dial: you choose with the shutter speed dial and the aperture ring. Setting either one to A means the camera works out that value. On phones, "Pro" or "Manual" mode gives you shutter speed and ISO; the aperture is usually fixed.
Auto: why it is worth leaving
In auto the camera picks everything, and it almost always gets a well-exposed photo. The problem is that it does not know what you want to show: whether the background should go soft or the wave should be frozen. It picks a safe average. On many cameras, auto also locks out RAW and other settings.
P · Program
The camera picks aperture and shutter speed, but you control ISO, exposure compensation and everything else. On most cameras, turning a dial shifts the combination without changing the exposure.
When to use it: quick shots where the only thing that matters is not missing the moment. It is a good intermediate step, but do not stay there.
A / Av · Aperture priority
You choose the aperture and the camera works out the shutter speed. It is the mode photographers use most, because aperture defines the look of the image: how soft the background gets.
When to use it: portraits, street, landscape, travel. Almost anything that is not moving fast.
What to watch: the shutter speed the camera picks. If it drops below 1/60 in low light, the photo may come out blurred. Open the aperture or raise the ISO, or set auto ISO with a minimum shutter speed, an option many cameras offer.
S / Tv · Shutter priority
You choose the shutter speed and the camera works out the aperture. Use it when motion is the main thing.
When to use it: surf, waves, sport, animals, cars. Also for the opposite: slow speeds to blur water or lights.
What to watch: if you ask for a very fast speed in low light, the camera opens the aperture all the way and, if that is not enough, the photo comes out dark. That is where ISO comes in.
M · Manual
You choose both aperture and shutter speed. The camera shows an exposure indicator, a scale from −3 to +3, that tells you whether the photo will come out bright or dark.
When to use it: when the light is not changing and you want identical results across a series. Night photography on a tripod, studio, flash, panoramas, or scenes that fool the meter.
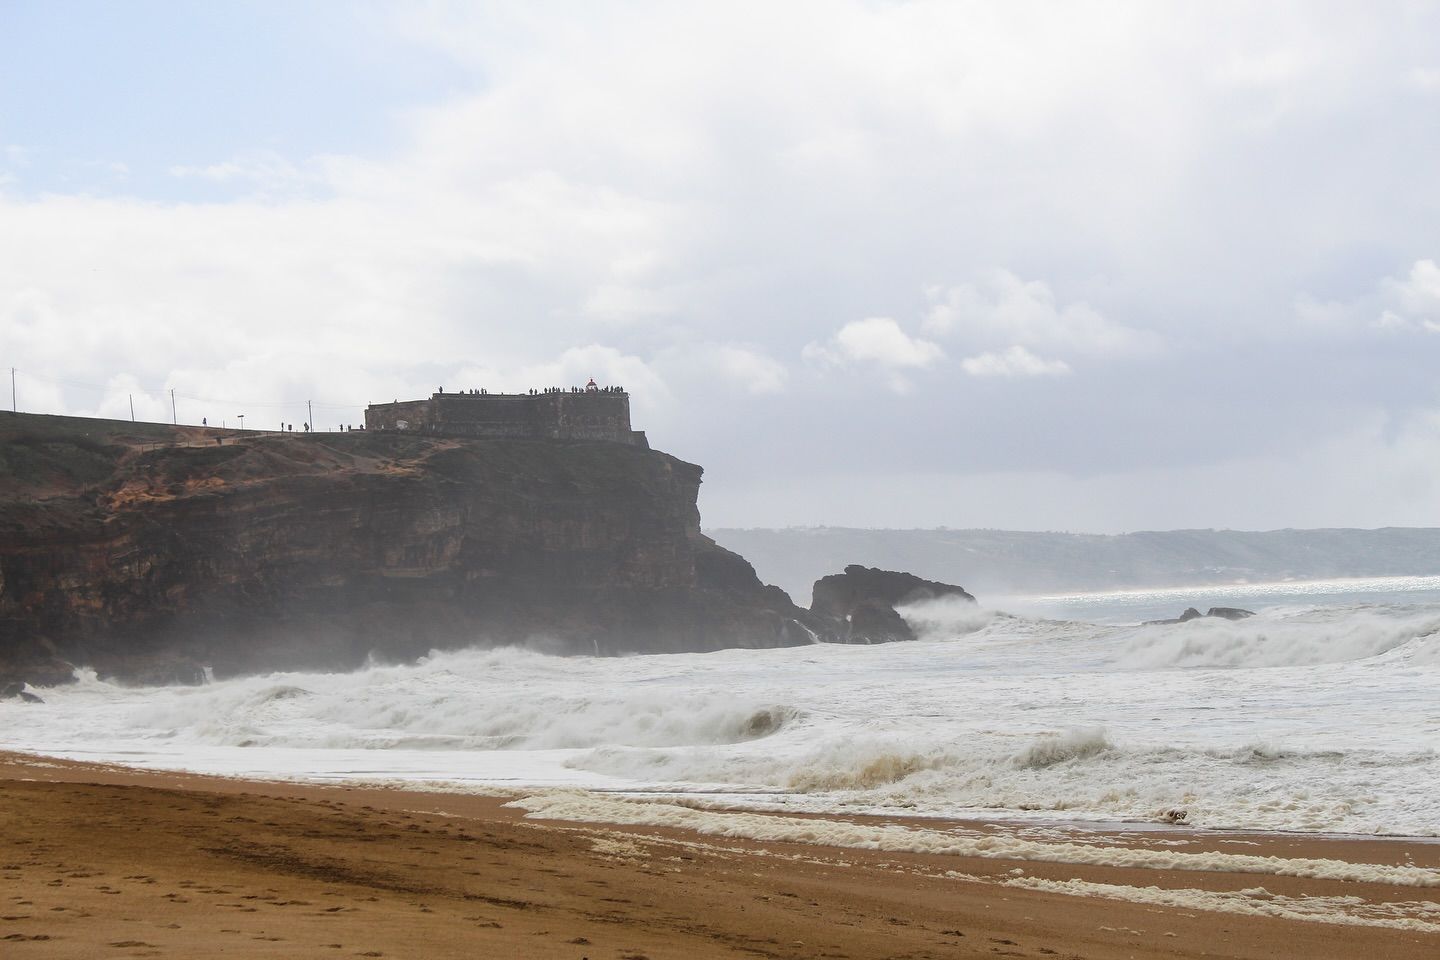
A useful trick: manual with auto ISO. You fix aperture and shutter speed, the two that define the image, and let ISO follow the light. It works very well for surf: 1/2000 fixed to freeze the action, whatever aperture you want, and ISO adjusts when a cloud passes.
Exposure compensation
In P, A and S the camera decides the exposure by metering the light, and sometimes it gets it wrong. The button or dial marked +/− tells it "brighter" or "darker".
- Very bright scenes (beach, white water, snow): the camera darkens them because it thinks there is too much light. Correct with +0.7 or +1.
- Dark scenes or sunsets: the camera tries to brighten them and blows out the sky. Correct with −0.7 or −1.
Set it back to 0 afterwards. Leaving it at −1 is one of the most common mistakes: every photo after that comes out dark.
Where to start
- First few weeks: A / Av. You learn to decide depth of field and to watch which shutter speed the camera picks.
- When you shoot motion: S / Tv.
- Once you understand stops: M, first with auto ISO, then with everything fixed.
Practice exercise
Find something that moves steadily: a fountain, passing cars, people walking. In S / Tv, shoot the same scene at 1/1000, 1/125 and 1/15. See how the motion changes and which aperture and ISO the camera chose each time. Then repeat in M, setting everything yourself.
Previous: The exposure triangle: aperture, shutter speed and ISO. Next: How to read a histogram.